

Welcome back, friends! We’re excited to share Part 3 of our Chesterfield Cottage reveal with you. So far, we’ve shared before & afters of the exterior, living/dining space, and bathroom in Part 1, and the attic bedroom in Part 2. Now, it’s time for the kitchen, which might just be our favorite makeover in the home.
Here’s how it all went down.
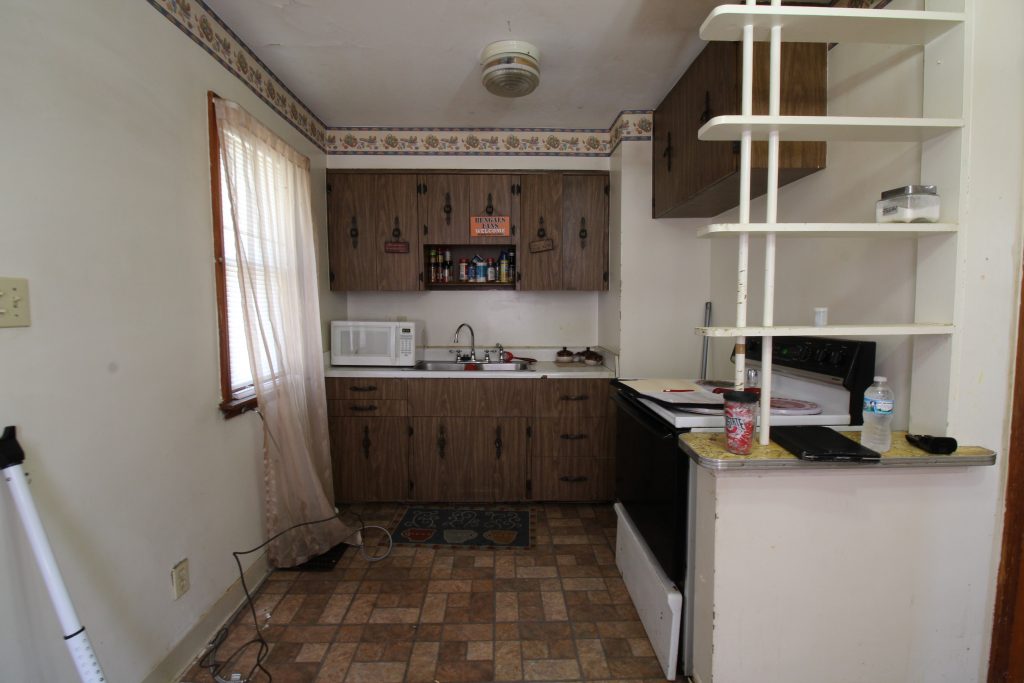
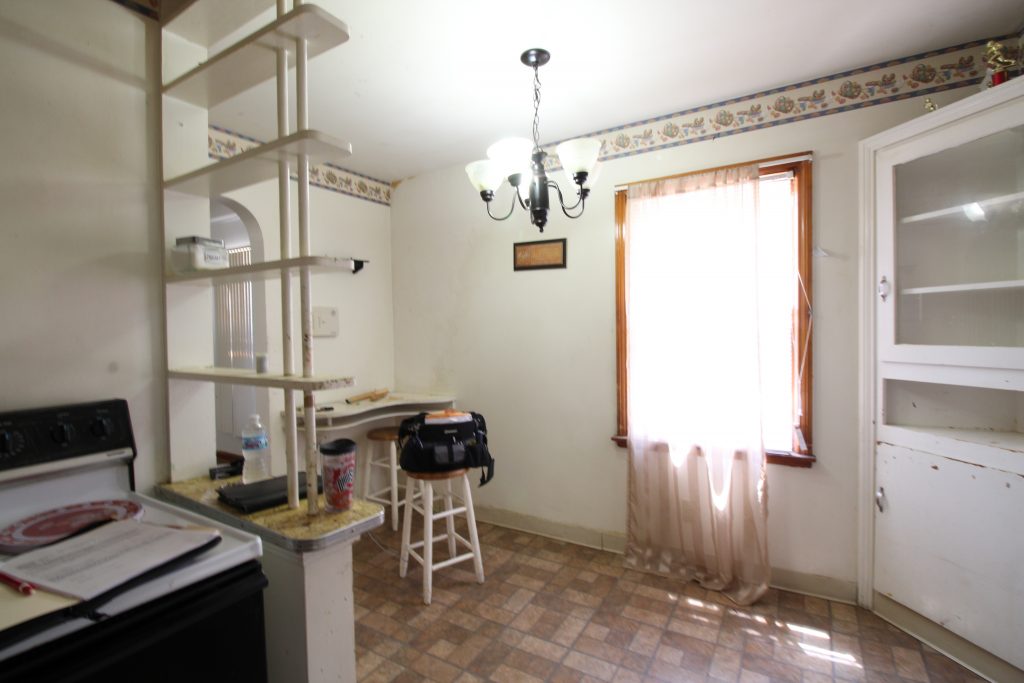
{Before}
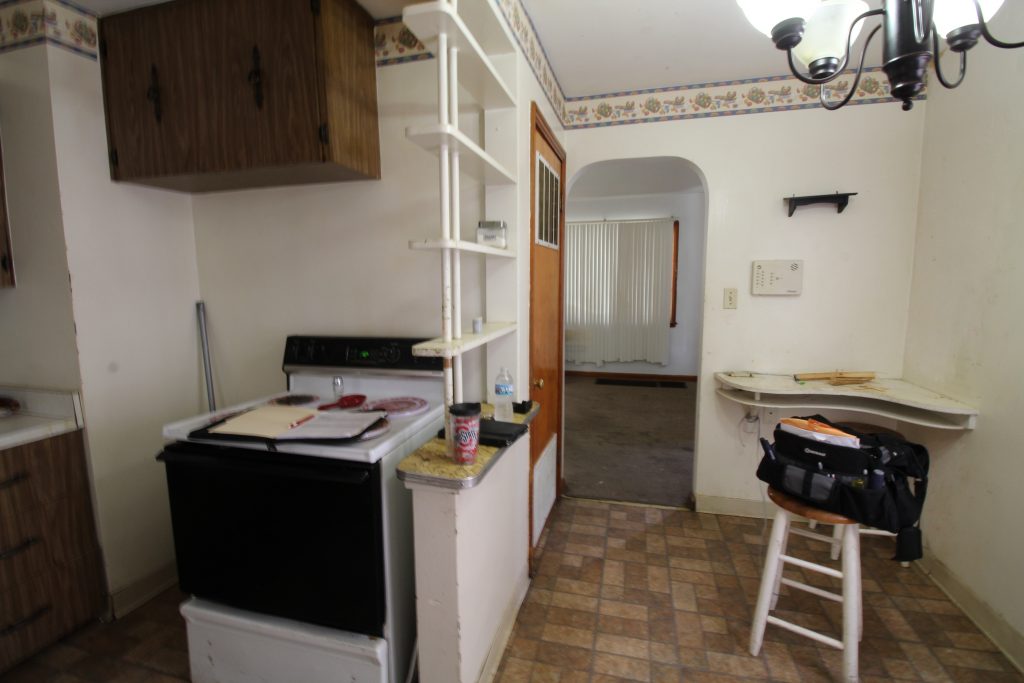
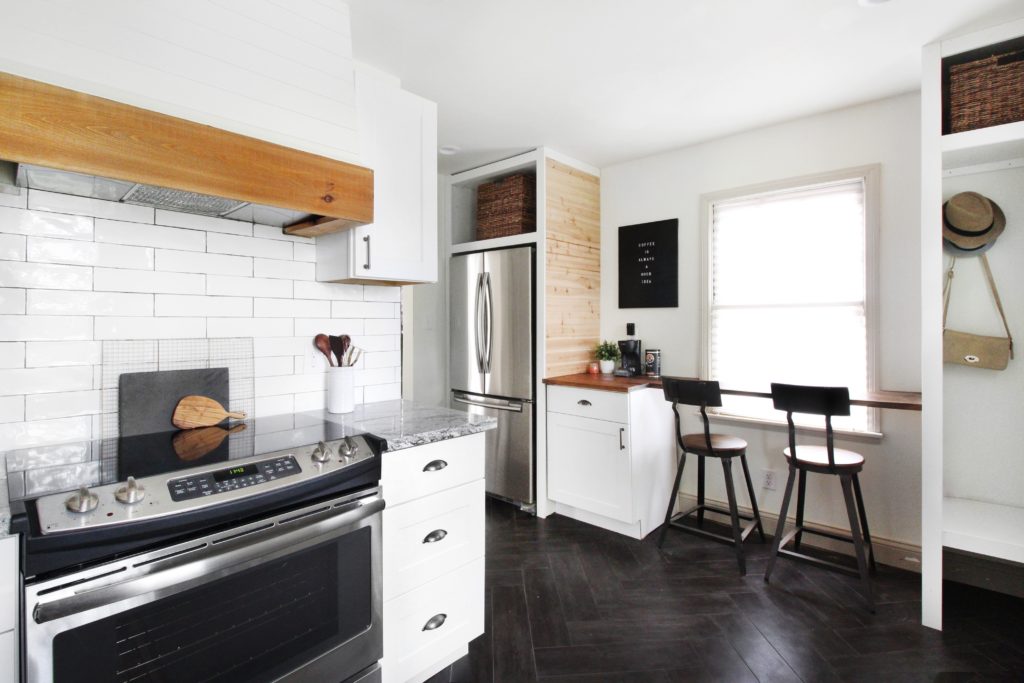
{After} We kept the layout the same, but took everything out and started with a blank slate. We added white shaker style cabinets w/pewter hardware, open shelves, and swapped the old sink for an Ikea farm sink. We tiled the walls, added sconces, replaced all of the appliances, and built a coffee bar & custom storage along the right wall to round out the space.
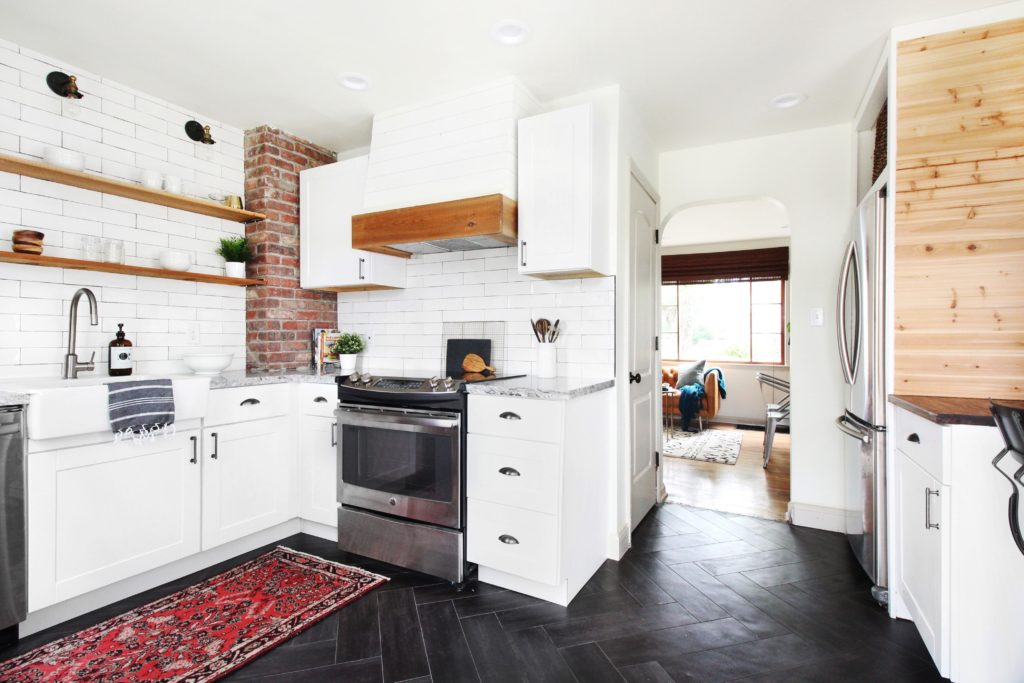
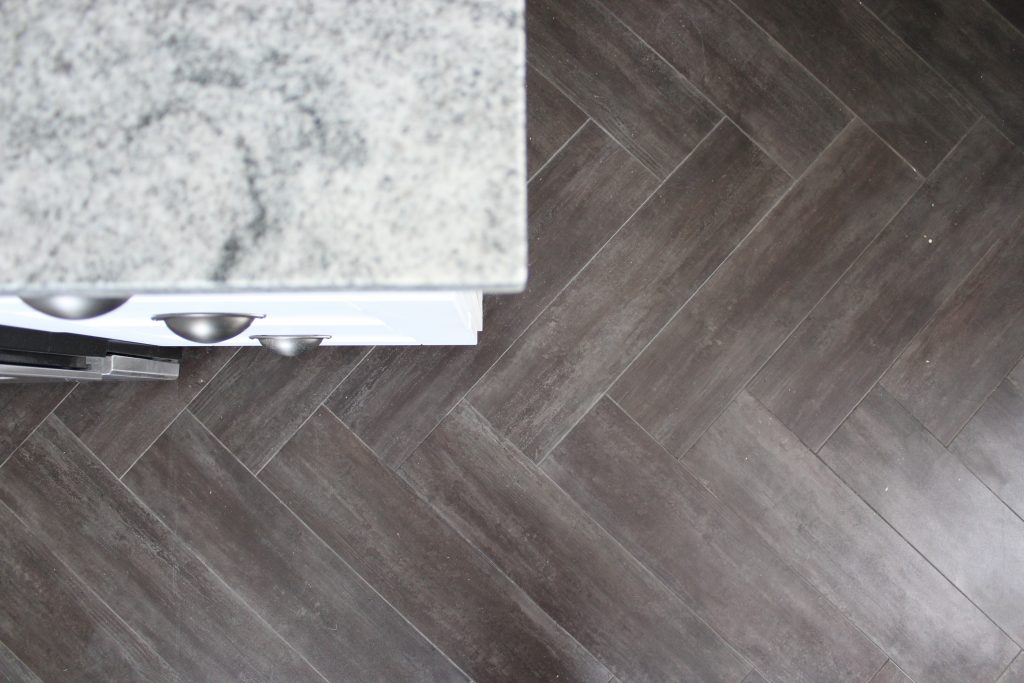
We replaced the floor with groutable vinyl planks that we found at Lowe’s. They were really easy to install and look wonderful in person. We laid the planks in a herringbone pattern, which gave the floor a high end look without breaking our budget.
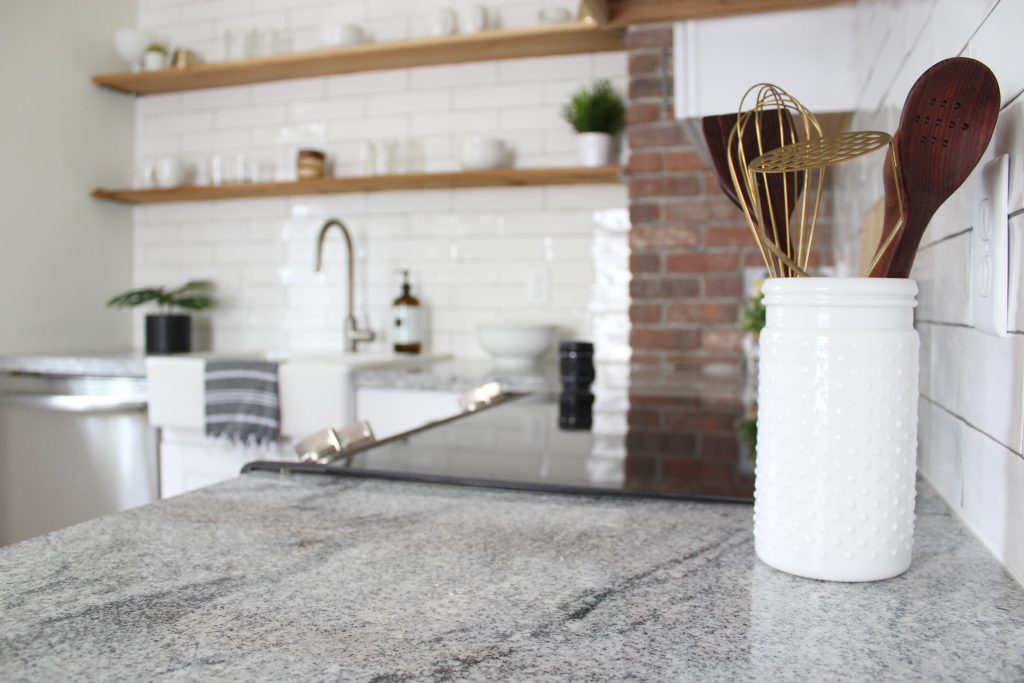
 The countertops are Silver Cloud granite. We knew we were going to have a lot of white in here, so we really liked the fact that this slab had lots of greys and blacks in it. We built a custom range hood that brings the white cabinets and wood open shelves together, and we found a fancy slide-in range on clearance that topped off this side of the room.
{Before}
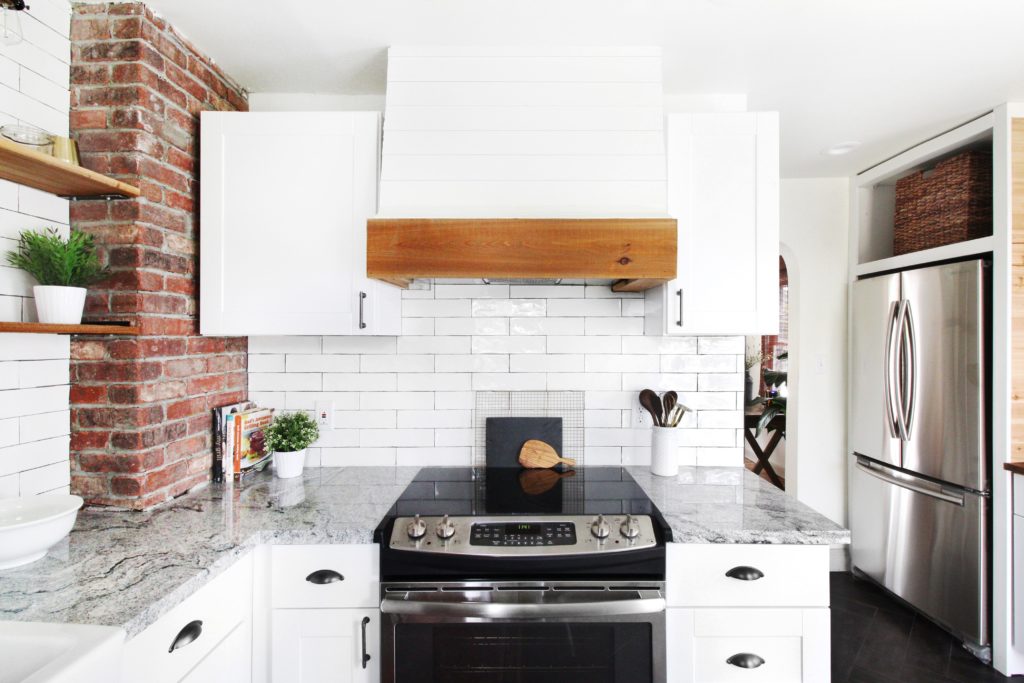
{After} – We took out the wall in the corner of the L to see if we could gain more counter space, and found a grey cinder block chimney inside. Cinder block isn’t cute or charming like brick is, but we couldn’t really do anything about it – it needed to stay where it was, and we needed to work around it. So, we left it exposed and covered it with brick veneer (real pieces of brick that are about 1/4″ – 1/2″ thick and installed like tile). It was a splurge at around $9 per sq. ft., but was worth every penny. The brick adds so much character to the space, and it’s practically impossible to tell that it’s veneer.
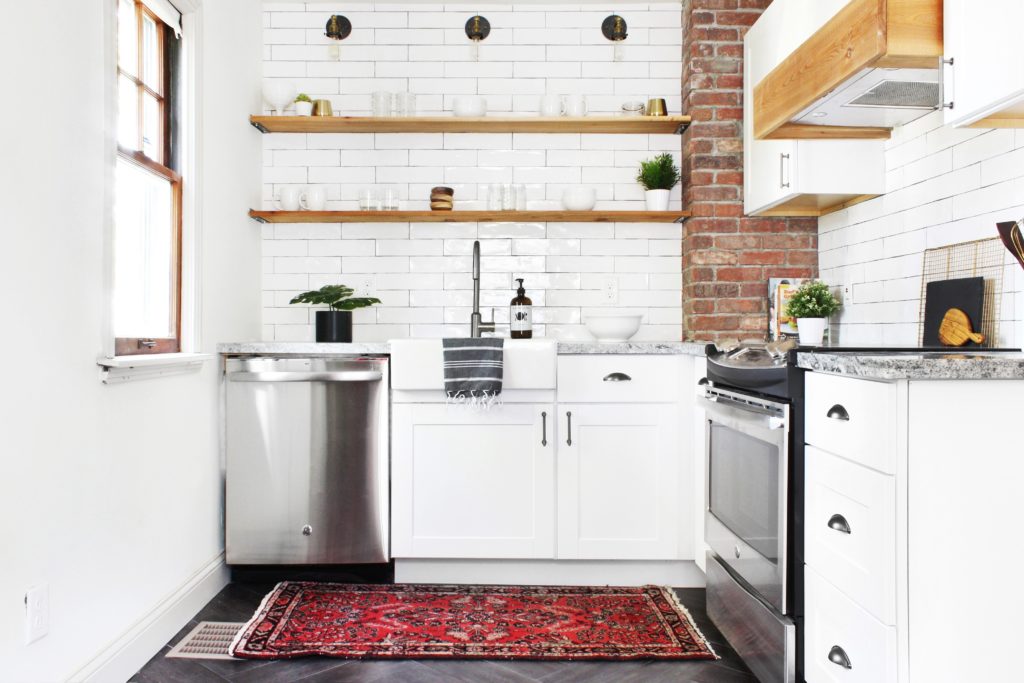
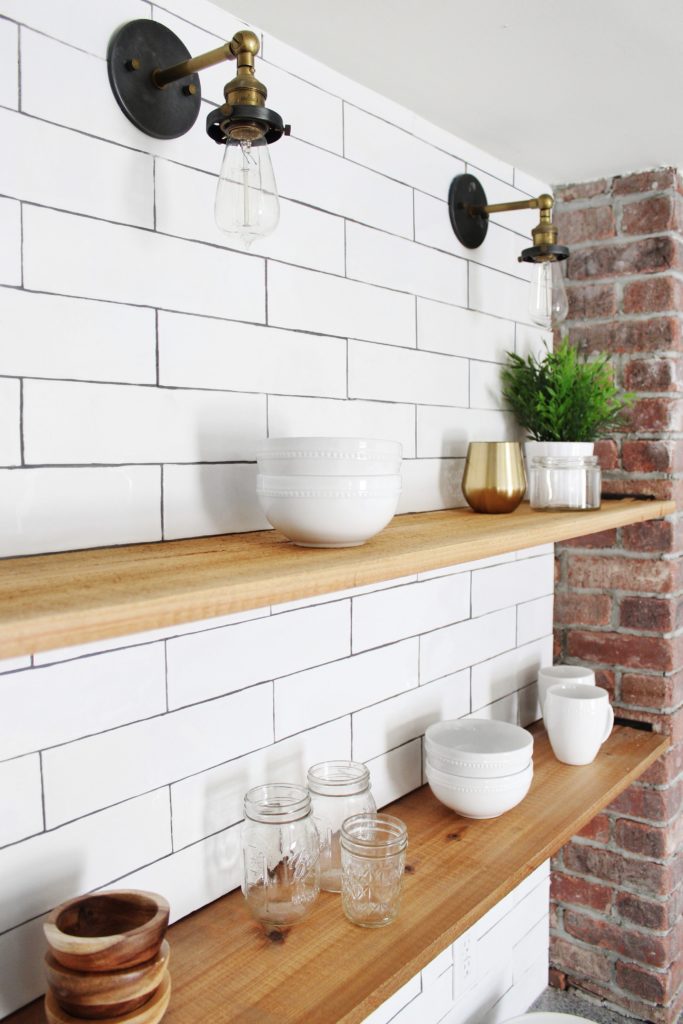
Because the chimney was only about 9″ deep, we were limited with our shelving/cabinet options on the sink wall. We chose to add cedar open shelves going all the way across, which we attached with small brackets to the brick and opposite wall. We added an elongated subway tile backsplash that we brought all the way up to the ceiling. It’s our new favorite. We also found the perfect sconces at Restoration Hardware Outlet. A touch of brass is always a good idea in our book.
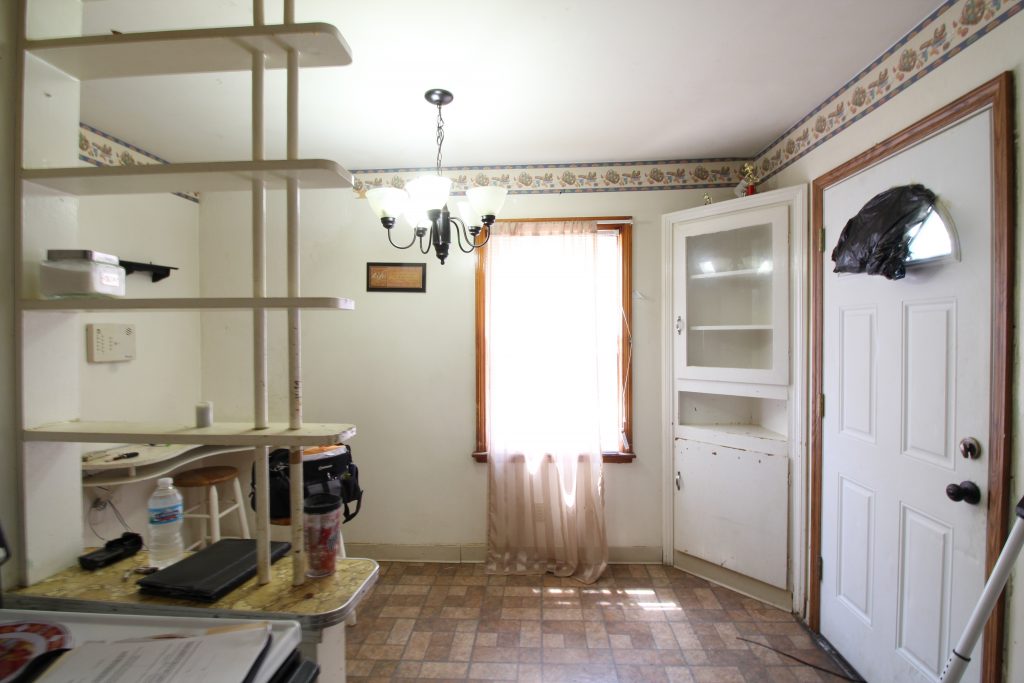
{Before}
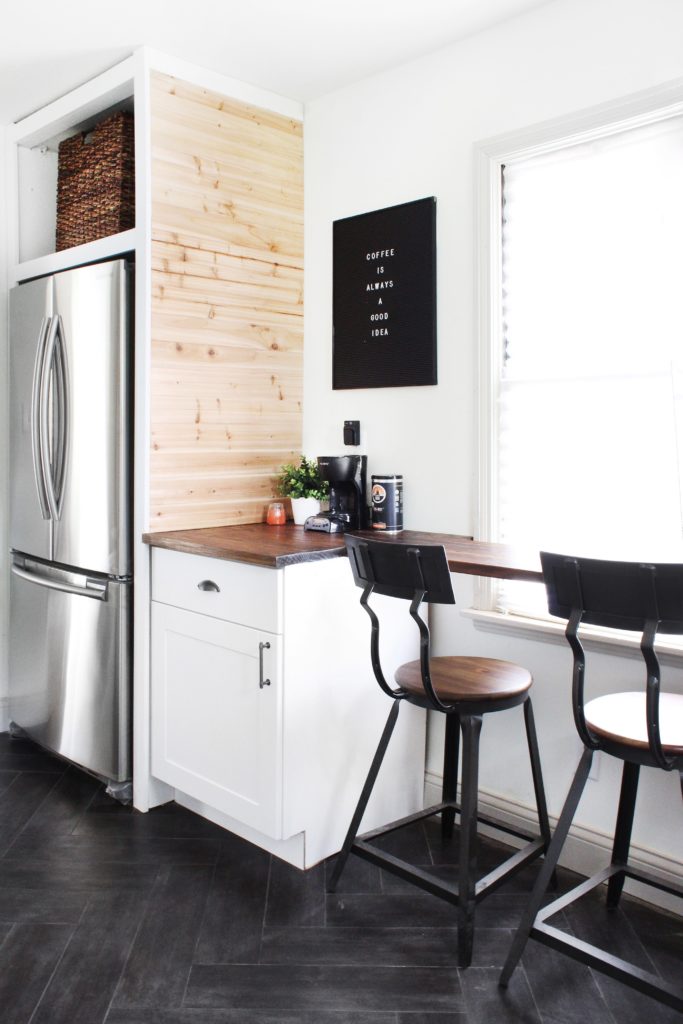
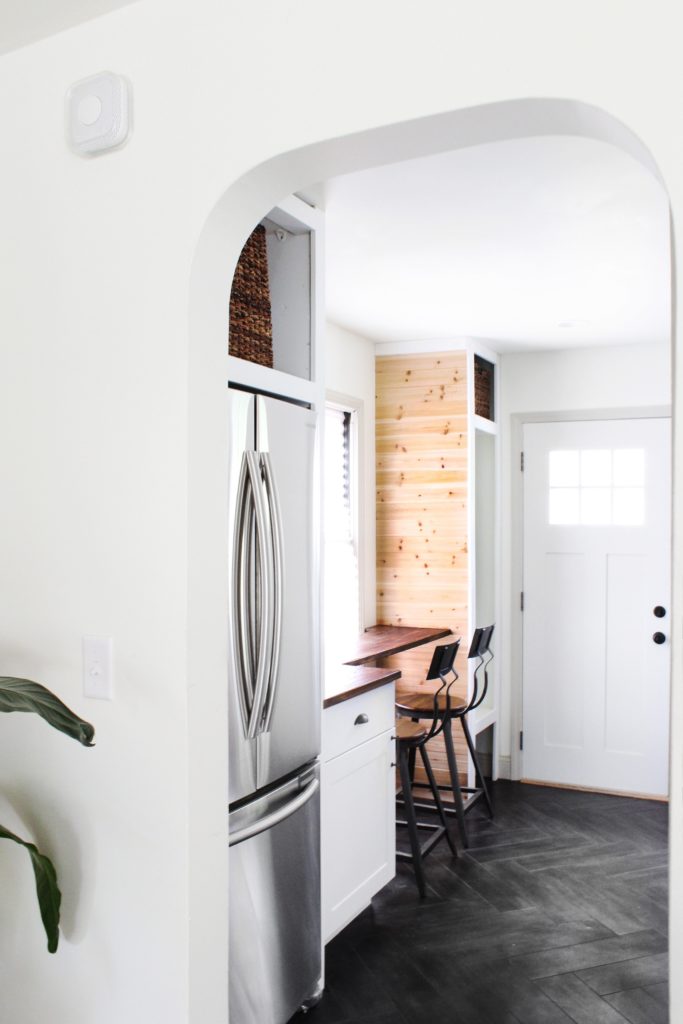
 {After} Previously, there was no fridge in the kitchen, so it was a challenge trying to figure out where it should go without taking up too much space or looking awkward in a corner by itself. We chose a counter depth fridge, and then filled the entire side wall with a combination of custom built-ins, a custom coffee bar, and a base cabinet that matched the rest in the L. We added cedar 4″ planks to the side of each built-in, which we originally intended to paint white but were surprised at how much we loved it natural.
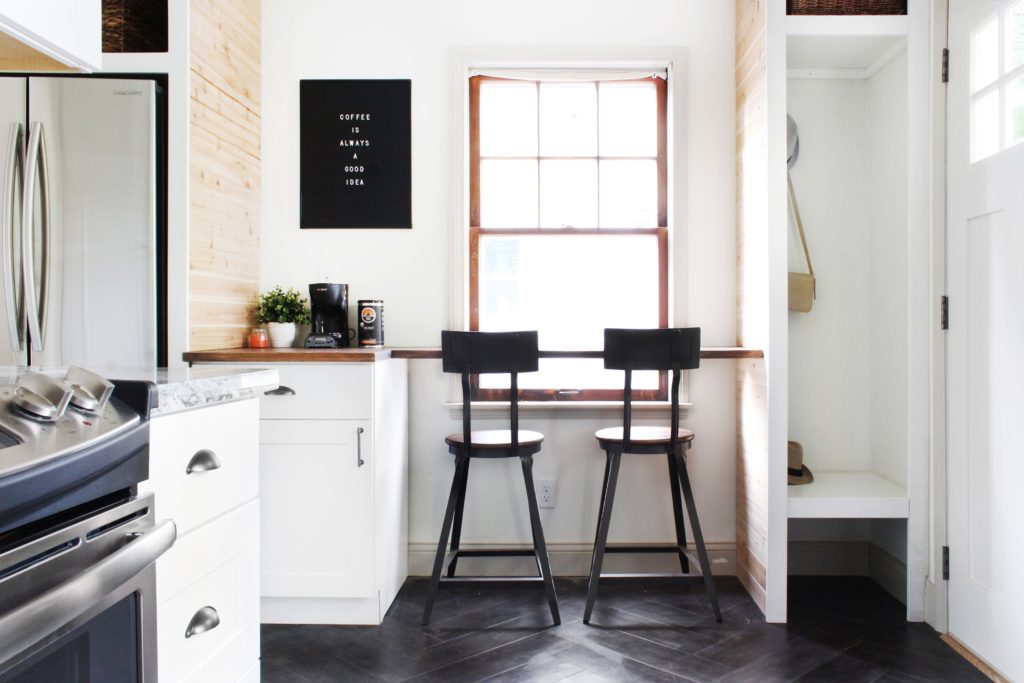
{Before}
 {After} The coffee bar is one of our favorite parts of the kitchen. Bryan made it out of select pine 2x8s from Home Depot, and was able to customize the depth so that when the stools are out, they are just about even with the end of the cabinet and don’t block the walkway. We stained it Minwax Provincial.
That’s all for now, folks. We hope you love the way this space turned out as much as we do! We’ll be back soon with more. In the meantime, follow us in Instagram & Facebook for fun updates!
Sources
Bar stools – World Market
Floor – Stainmaster Groutable Vinyl Tile
Wood planks on built ins, by coffee bar – Home Depot
Brick veneer – Home Depot
Farm Sink – IKEA
Gold wisk – Target (12″)
Gold wisk – Target (8″)
Cabinets – Home Depot
Slate cheese board – Target
3×12 subway tile – Floor & Decor
“Silver Cloud” granite countertops – Floor & Decor
Pewter hardware – Amazon
Range hood – custom (search “DIY Range Hood” on Pinterest and you’ll find a bunch of awesome tutorials)
Baskets above built-ins – Target & World Market
Black letter board – Amazon
Open shelves – Cedar 1×8 boards
Rug – Dolores Wares
Turkish towel – Amazon
Dish soap in Original Fig (our favorite!!) – Murchison Hume
Sconces – Restoration Hardware (Outlet) – (similar here and here on Amazon)


Love your selections. I’m getting ready to replace a small kitchen on a non-existent budget (as in no money, not no limit). Which line of Home Depot cabinets did you use in the kitchen?
We know how it is 🙂 We have a link at the bottom of the post that gets you to the exact ones we used, or you can search HD for Hampton Bay Shaker Cabinets and they should pop up.
I LOVE what you guys do. I can’t get enough of it, honestly. I think you have tremendous vision and I love to see how innovative and creative you get with a limited budget. I have to work within the same circumstances (limited budget) so it is very inspiring to see how others choose to do things; I’m pretty sure my taste lines up with yours 100%!!! Keep it comin!
Thanks so much Jill!
[…] it might be hard to imagine it differently, but check out this renovation with an almost identical kitchen and attic bedroom. The living room is also similar, due to the direct entry into the living room […]
Love the floor. Few questions: did you grout the tile? It’s hard to tell in the photos. If you did, what grout did you use? And how has the flooring and grout (if you did it) held up? I’m thinking of employing this as an intermediate solution for our main floor until we have a chance to do our big reno to move the kitchen and put in real wood. Alas need time to save up!
Hi there, Yes we did grout the tile but kept the spaces small. We used normal grout, which ended up scraping the finish off a little. We went over the whole thing with Rejuvenate and it made it look like new again. If you use grout, we’d suggest using the type they make specifically for vinyl and don’t be too harsh when you’re applying it. We don’t live in this house, so we can’t speak to how it’s holding up. The reviews online seemed really positive, though, which is why we chose it. Hope this helps!
I love the granite you choose and the price is amazing. Did you have trouble finding someone to cut and install the pre-fab counter for you? We are strongly considering going that route but am worried about getting it installed correctly. Thanks!
Hi Ali! We cut & installed it ourselves (it worked out because we didn’t have any tough corners to do on this one). Usually the store has a few people they work with who can do it for you, so that might be the best place to start. Good luck!
I have this granite – it is stunning! Pictures, I feel, do not do it justice. I paid $34sq ft installed. Beautiful remodel!
Totally agree, Donna! It’s gorgeous.
Hey There! I love your work!! You have solved such a dilemma in our new kitchen. We have been searching for quality, inexpensive hardware for our kitchen cabinets. We love the handles on the cabinets, and we just ordered them from Amazon. Where did you get the drawer pulls? Thanks for all of your wisdom. Your projects are spectacular and creative. 🙂
Thanks so much, Eve! We got the drawer pulls @ Lowes (think the brand was Allen + Roth). The finish is exactly the same as the Amazon handles 🙂
This is Awesome!! Thanks for the inspiration =D
You’re very welcome, Juan!
Hi– did you stain or seal the cedar planks on the fridge built-in? If so, what did you use to keep it so light and bright? We have tons of knotty pine that we want to save, but desperately need to brighten and lighten.
Hi Ami! We used Watco Danish oil to enhance the tone of the cedar.
I have this flooring I’m planning to install next week ???? A lot of the reviews led me to believe I should put adhesive underneath even though they’re peel and stick. Did you guys do this?
I’m so inspired by this space. Beautiful work!!!
I have this flooring I’m planning to ins tall next week ???? A lot of the reviews led me to believe I should put adhesive underneath even though they’re peel and stick. Did you guys do this?
I’m so inspired by this space. Beautiful work!!!
We didn’t put extra adhesive on, but it was on a really dry, clean surface so it stuck well. 🙂
Hello! A friend randomly found this post and I am so happy that he did. I purchased this home last April and am totally in love with it. It is perfect and the updates you did are fantastic. It’s so great to see the before pictures!
Thank you for giving me my dream home!
So happy to hear you love the home! Your comment made our week 🙂
[…] Chesterfield remodel is a good example of a project where a work triangle was not possible, so we had to work with what […]